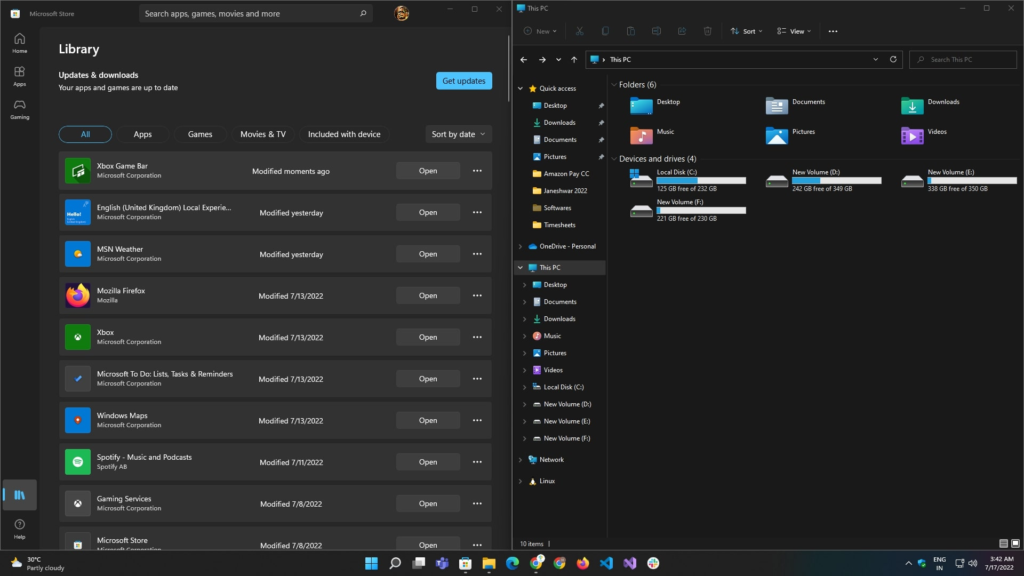
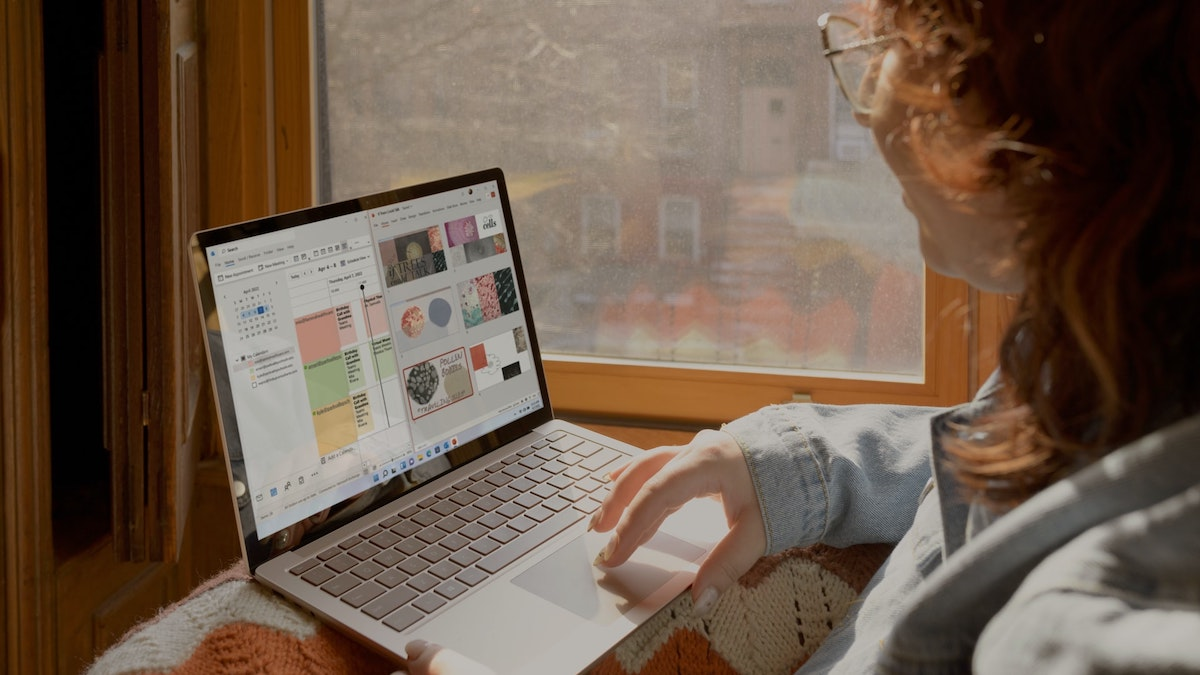
In this article, we discuss what Snap Layouts and Snap Groups are and how to use them to improve your productivity and multitasking. Windows 11, the latest version of Microsoft’s operating system, comes with a host of new features and improvements that make it easier and more convenient to use. One such feature is Snap Layouts and Snap Groups, which allow you to quickly arrange and organize multiple windows on your screen.

Table of Contents
Table of Contents
- Introduction
- What are Snap Layouts and Snap Groups?
- How to Use Snap Layouts in Windows 11
- Using Keyboard Shortcuts to Snap Windows
- Using the Snap Assist Feature
- Creating Custom Snap Layouts
- How to Use Snap Groups in Windows 11
- Creating and Managing Snap Groups
- Using Snap Groups for Productivity
- Tips and Tricks for Using Snap Layouts and Snap Groups
- Conclusion
- FAQs
What are Snap Layouts and Snap Groups?
Snap Layouts and Snap Groups feature in Windows 11 allows you to quickly arrange and organize multiple windows on your screen. Snap Layouts provide predefined layouts for arranging windows, while Snap Groups allow you to save and recall custom layouts.
Read More: No Chance for Exynos If Samsung Galaxy Gets Snapdragon 8 Gen 2?
These features are especially useful for multitasking and productivity, as they allow you to quickly switch between different applications and tasks without having to manually resize and rearrange windows.
How to Use Snap Layouts in Windows 11
Using Keyboard Shortcuts to Snap Windows
Windows 11 comes with several keyboard shortcuts that allow you to quickly snap windows to different positions on your screen. To use these shortcuts, simply select the window you want to snap and press the following keys:
- Windows key + Left arrow: Snap the window to the left half of the screen
- Windows key + Right arrow: Snap the window to the right half of the screen
- Windows key + Up arrow: Snap the window to the top of the screen
- Windows key + Down arrow: Snap the window to the bottom of the screen
You can also use these shortcuts to snap windows to the corners of the screen by combining the above keys. For example, to snap a window to the top-left corner of the screen, press the Windows key + Left arrow + Up arrow.
Using the Snap Assist Feature
Windows 11 also comes with a Snap Assist feature that makes it easier to snap windows to different positions on your screen. To use Snap Assist, simply drag a window to the edge of the screen and release it. Windows 11 will then display a set of suggested layouts that you can choose from.
If you want to customize the suggested layouts, you can click on the Customize Layouts button and create your own Snap Layouts.
Creating Custom Snap Layouts
In addition to the predefined Snap Layouts, you can also create your own custom Snap Layouts in Windows 11. To do this, simply arrange the windows on your screen in the desired layout, then right-click on the Taskbar and select the Snap Layouts option. From there, you can choose the Save Snap Layout option to save the current layout as a custom Snap Layout.
You can then recall your custom Snap Layouts at any time by right-clicking on the Taskbar and selecting the Snap Layouts option.
How to Use Snap Groups in Windows 11
Creating and Managing Snap Groups
Snap Groups in Windows 11 allow you to save and recall custom layouts of multiple windows. To create a Snap Group, simply arrange the windows on your screen in the desired layout, then right-click on the Taskbar and select the Create Snap Group option.
You can then give your Snap Group a name and save it for future use.
To manage your Snap Groups, simply right-click on the Taskbar and select the Snap Groups option. From there, you can select the Snap Group you want to use or delete any existing Snap Groups that you no longer need.
Using Snap Groups for Productivity
Snap Groups are especially useful for productivity and multitasking, as they allow you to quickly switch between different groups of windows. For example, you could create a Snap Group for your email client, web browser, and note-taking application. This would allow you to quickly switch between these applications without having to manually resize and arrange windows.
You can also use Snap Groups to organize your windows by project or task. For example, you could create a Snap Group for all the windows related to a particular project, such as a spreadsheet, presentation, and research document.
Tips and Tricks for Using Snap Layouts and Snap Groups
Here are some tips and tricks for using Snap Layouts and Snap Groups in Windows 11:
- Use keyboard shortcuts to quickly snap windows to different positions on your screen.
- Customize the suggested layouts in Snap Assist to create your own Snap Layouts.
- Create custom Snap Layouts for your favorite window arrangements.
- Use Snap Groups to organize your windows by task or project.
- Use virtual desktops in conjunction with Snap Layouts and Snap Groups for even more productivity.
Conclusion
Snap Layouts and Snap Groups are powerful features in Windows 11 that allow you to quickly arrange and organize multiple windows on your screen. By using these features, you can improve your productivity and multitasking, allowing you to get more done in less time.
Whether you’re a student, professional, or casual user, Snap Layouts and Snap Groups can help you work more efficiently and effectively on your Windows 11 device.
Read More: The Snapdragon 8 Gen 2 in the Samsung Galaxy S23 has a faster CPU and GPU.
FAQs
- How do I turn on Snap Layouts and Snap Groups in Windows 11? To use Snap Layouts and Snap Groups, simply right-click on the Taskbar and select the appropriate option from the menu.
- Can I customize the predefined Snap Layouts in Windows 11? Yes, you can customize the suggested layouts in Snap Assist to create your own Snap Layouts.
- How do I create a custom Snap Group in Windows 11? To create a custom Snap Group, simply arrange the windows on your screen in the desired layout, then right-click on the Taskbar and select the Create Snap Group option.
- Can I use Snap Layouts and Snap Groups on multiple monitors? Yes, you can use Snap Layouts and Snap Groups on multiple monitors in Windows 11.
- Are Snap Layouts and Snap Groups available in all versions of Windows 11? Yes, Snap Layouts and Snap Groups are available in all versions of Windows 11, including Home, Pro, and Enterprise.


