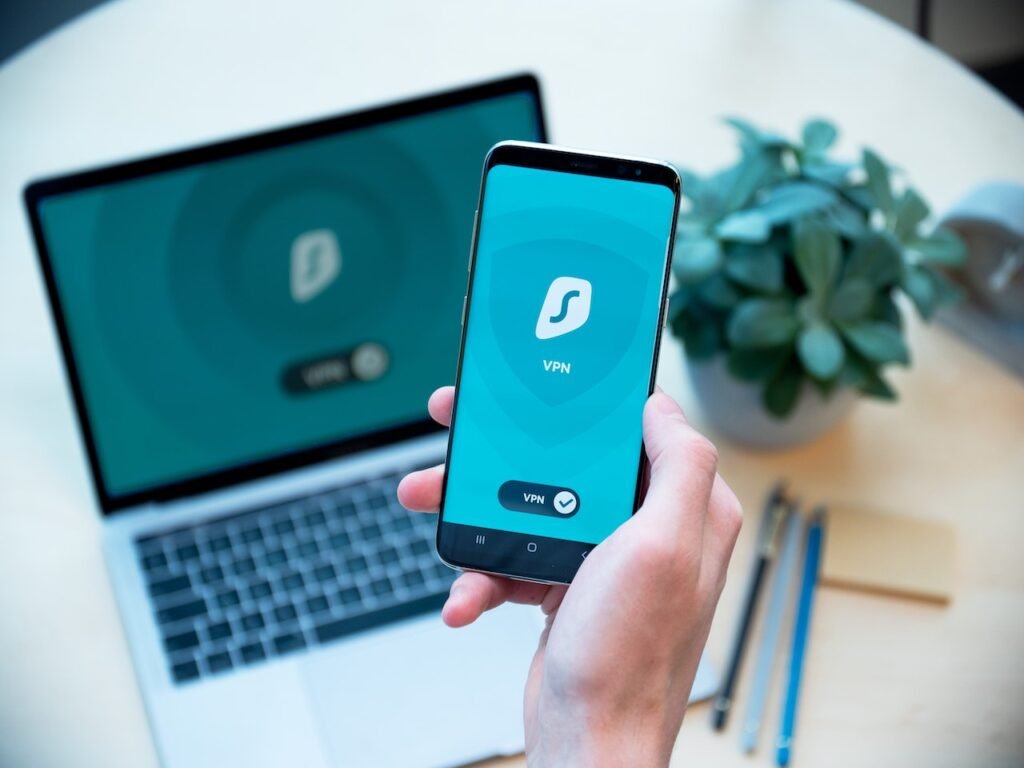
In this digital age, online privacy and security have become increasingly important. A Virtual Private Network (VPN) is a useful tool for protecting your online activities. In this article, we will guide you through the process of setting up a Virtual Private Network, step by step. Whether you’re a novice or a tech-savvy individual, this tutorial will help you establish a secure connection and protect your sensitive information.

Table of Contents
What is a Virtual Private Network ?
A VPN is a technology that allows you to create a secure and encrypted connection over a less secure network, such as the internet. It acts as a tunnel that protects your data from being intercepted or accessed by unauthorized individuals. When you connect to a VPN, your internet traffic is routed through a remote server, effectively hiding your IP address and encrypting your data.
Read More: Programming for Non-Programmers: Beginner’s Guide
Benefits of Using a Virtual Private Network
Using a VPN offers several advantages:
- Enhanced Security: By encrypting your internet traffic, a VPN ensures that your online activities remain private and protected from hackers or surveillance.
- Data Protection: VPNs shield your sensitive information, such as passwords, credit card details, and personal data, from potential breaches.
- Anonymity: VPNs allow you to browse the internet anonymously, making it difficult for websites or advertisers to track your online behavior.
- Access to Restricted Content: With a VPN, you can bypass geographical restrictions and access region-specific content, such as streaming services or websites blocked in your country.
Choosing the Right Virtual Private Network
Before setting up a VPN, it’s crucial to choose the right VPN service provider. Consider the following factors:
- Security Features: Look for a VPN that uses robust encryption protocols, such as OpenVPN or IKEv2, to ensure the highest level of security.
- Server Locations: Check if the VPN has servers in the locations you require to access region-specific content.
- Bandwidth and Speed: Ensure that the VPN provides sufficient bandwidth and offers fast connection speeds to support your online activities.
- Device Compatibility: Verify if the VPN is compatible with the devices and operating systems you use.
Setting Up a Virtual Private Network
To set up a VPN, follow these general steps:
- Choose a VPN service provider that suits your needs and sign up for their service.
- On your device, download and install the VPN software.
- Launch the VPN application and log in using the credentials provided by the service provider.
- Choose a server location from the list of possibilities.
- In order to create a secure VPN connection, connect to the selected server.
Now, let’s delve into a step-by-step tutorial on setting up a VPN:
Choose a VPN Service
Start by researching and selecting a VPN service that aligns with your requirements. Consider factors such as pricing, features, and customer reviews to make an informed decision.
Sign Up and Install the VPN Application
Visit the VPN provider’s website and sign up for their service. After completing the registration process, download and install the VPN application on your device.
Launch the VPN Application
Locate the installed VPN application on your device and launch it. You will typically find it in your applications folder or system tray.
Log In to Your Account
Open the VPN application and log in using the credentials provided during the sign-up process. Enter your username and password if prompted.
Choose a Server Location
Select a server location from the available options provided by the VPN service. Consider factors such as server proximity and the content or services you wish to access.
Establish the VPN Connection
Click on the “Connect” or “Connect to VPN” button within the application to establish the VPN connection. Wait for a few moments as the application establishes a secure connection with the chosen server.
Verify the Connection
Once connected, the VPN application will display a confirmation message or icon indicating that you are now connected to the VPN. You can also verify your new IP address and location through online tools.
Conclusion
Setting up a VPN is a vital step in protecting your online privacy and security. By following this step-by-step tutorial, you can establish a secure connection and enjoy the benefits of a Virtual Private Network. Remember to choose a reputable VPN service provider, and always prioritize your online safety.
Read More: Data Backup and Recovery: A Complete Guide
FAQs
Can I substitute a free Virtual Private Network with a premium one?
While free VPNs exist, they often come with limitations and may compromise your privacy. Paid VPN services generally offer better security, speed, and customer support.
Do I need technical knowledge to set up a Virtual Private Network?
No, setting up a VPN is typically straightforward, and most VPN applications provide a user-friendly interface. Just follow the instructions provided by your chosen VPN service.
Can I use a Virtual Private Network on several devices at once?
Yes, many VPN service providers allow you to use their service on multiple devices simultaneously. Check the provider’s terms and conditions or contact their support team for more information.
Will use a Virtual Private Network slow down my internet speed?
While a VPN can introduce a slight decrease in speed due to the encryption process, reputable VPN providers strive to minimize this impact. Choosing a VPN with fast servers can help maintain satisfactory speeds.
Is it legal to use a Virtual Private Network?
Using a VPN is legal in most countries, but it’s essential to respect the laws and regulations of the country you reside in. Be aware that some activities, such as illegal downloading or accessing restricted content, may still be illegal even with a VPN.


